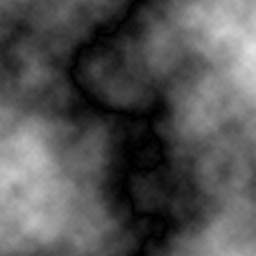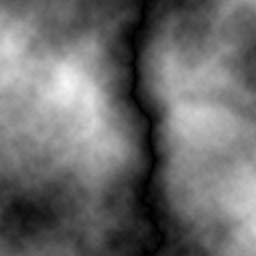

Filter using Difference Clouds. This is the fun part. Go to Filter (one of the choices at the top of the screen...), then go down to Render, then select Difference Clouds. BAM! Suddenly this looks a whole lot like a grayscale to height map, now doesn't it? Heh heh. That black, wavy line will be the river once you get this terrain into Bryce where it belongs. If you don't like how your river turned out, just use Undo (Control-Z in Windows) to get your original gradient back. Or, reload, or re-drag the gradient, or whatever. Then redo the filter (Control-F is the hot key for this). You get a different river every time you filter it! Ooooh, aaaah, neat ain't it.I usually try it a few different times till I get a river I like. Here's the two gradients from above, filtered:

Save your chosen grayscale-to-height map as a .BMP (if you're using Windows. Mac uses, uhhh... a .TIF or something).
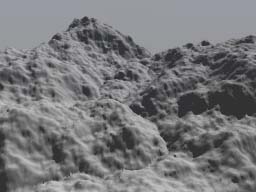
When in Bryce, do as the Brycers do. Now, finally, leave Photoshop and go to Bryce! Make a terrain. Now, edit the terrain. This should open the Terrain Editor (wow!). See that grayscale map of the existing mountain? We're going to replace it with your river valley. There's three tabs at the top of the screen: Elevation, Filtering, and Pictures. Go to Elevation (you might already be there). Click Picture. It's one of the buttons on the left, for you newbies. Now go find your river grayscale and open it. Voila! There it is! You can now do whatever else you might like to the terrain. Erode it, paint in details, whatever. It might need some editing around the edges, particularly.Click the checkmark to accept the changes to the terrain, and go look at your new creation. If you want a longer river, you could just stretch the terrain in that direction. Here's a rendering of the scene so far, from a viewpoint I liked. The river area might not be too visible, except in the foreground. You'll really be able to see it later, when there's water, of course.
